


Spring Framework 是開發 JAVA 網頁程式非常方便的框架,雖然能夠達到開發快速的優點,不過其缺點是在一開始建立專案時,需要做許多的XML設定檔以及環境設定,而後來有了 Spring Boot 這個框架,其優點是將這些繁瑣的設定又封裝了起來,並且整合了 tomcat 在裡面,使得開發者能夠快速的建立專案後就開始開發,節省了不少的時間,本篇將教學如何建立與使用 Spring Boot 專案。
示範環境:
- Java 版本:OpenJDK 11
- 資料庫:MySQL 5.7
- 構建工具:Gradle
- 需求:開發 Web API
建立專案
首先開啟 Spring Initializr 網站上建立專案:https://start.spring.io/
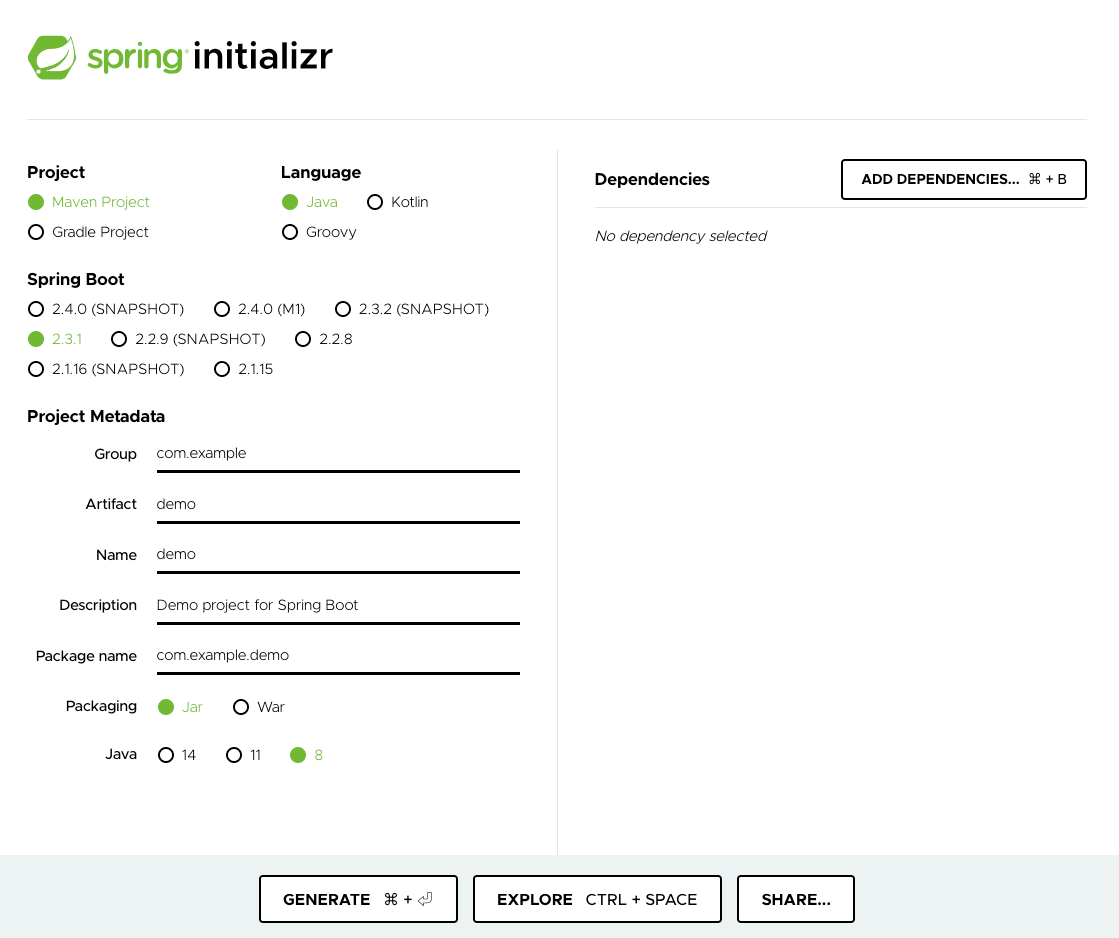
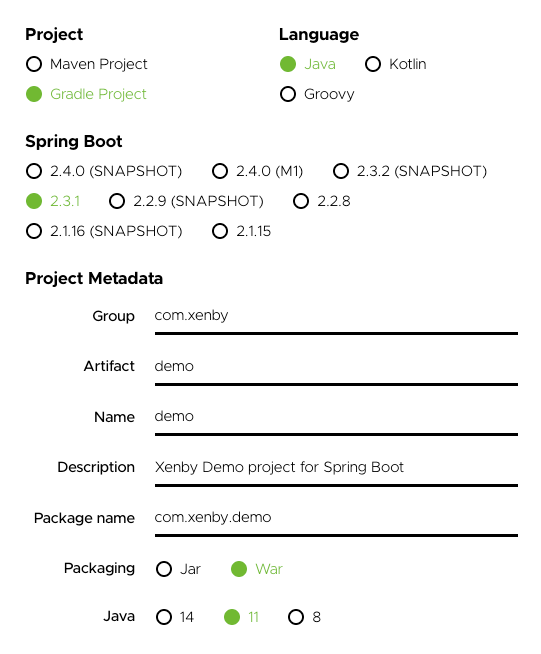
接著選擇專案要的配置,左邊部分這邊選擇了以下的配置
- Project:Gradle
- Language:Java
- Spring Boot:2.3.1
- Packaging:War
- Project Metadata:依照自己的需求填寫
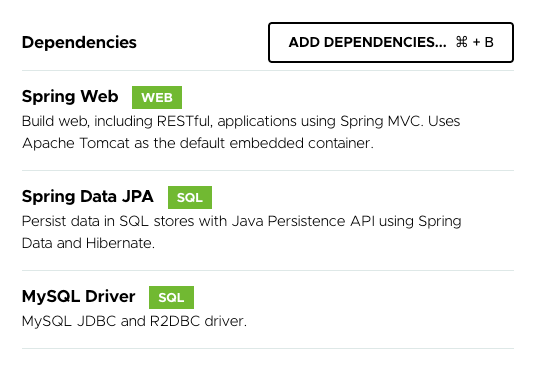
而右邊的部分要選擇需要使用到的套件,點右上的 [ADD DEPENDENCIES…] 按鈕可以選擇要使用的套件
這邊選擇了以下幾個套件:
- Spring Web (使用 Spring MVC 框架開發)
- Spring Data JPA (資料庫 JPA 部分)
- MySQL Driver (連線 MySQL 資料庫的 JDBC)
點畫面下方的 EXPLORE 可以檢視產生的裝案配置

如果沒有問題就可以接的點下面的 [DOWNLOAD] 按鈕下載專案
解壓縮後能取得初始專案

建立 .gitignore
假如是使用 git 來進行版本控制,可以加入一些設定進 .gitignore 裡面
(如果沒有使用 git 可以跳過此步驟)
從 gitignore.io 下載複製內容並貼進 .gitignore 檔案: https://www.toptal.com/developers/gitignore/api/intellij,eclipse,gradle
其中包含了三個配置,如果有需要新增可以自己增加:
- intellij
- eclipse
- gradle
使用指令安裝或更新套件
如果沒有使用 IDE 來進行開發,可以輸入以下指令安裝需要的 jar 套件
gradlew build --refresh-dependencies
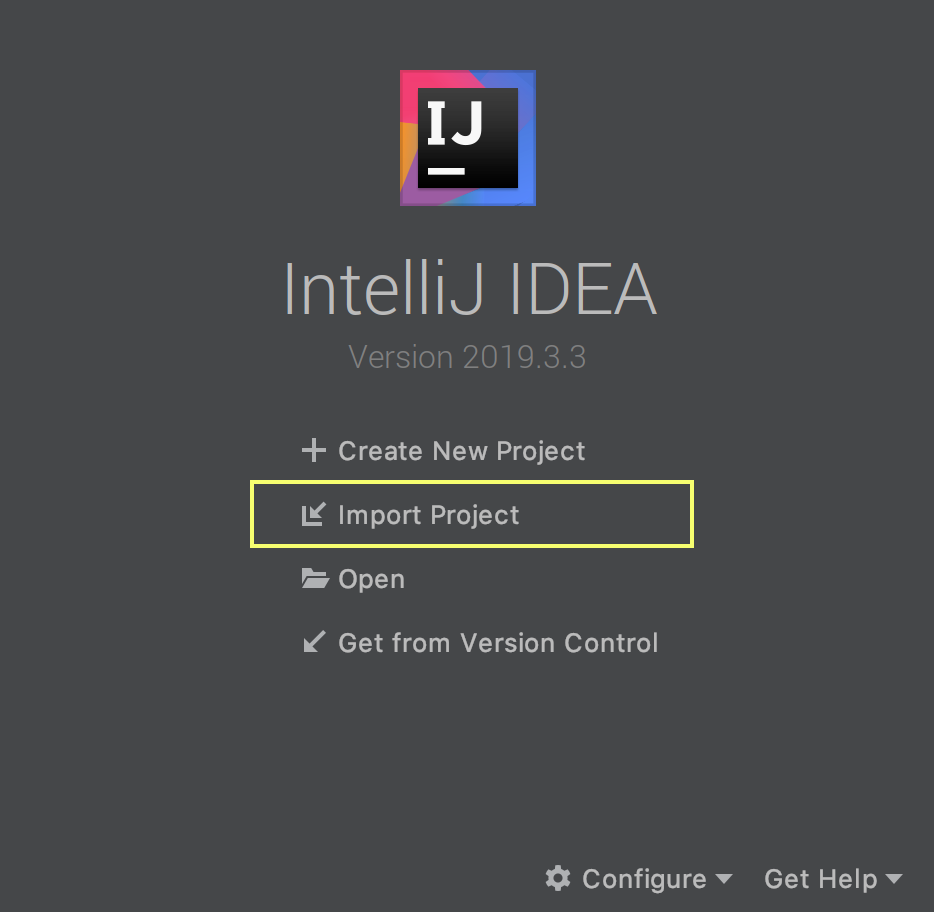
開啟專案 (IntelliJ IDEA Community 版本)
這邊示範使用 IntelliJ IDEA Community 開啟專案,可以使用自己擅長使用 IDE 或者是編輯器來進行開發 (例如:Eclipse、VS Code…等)
點 [Import Project],選擇剛剛下載解壓的專案資料夾
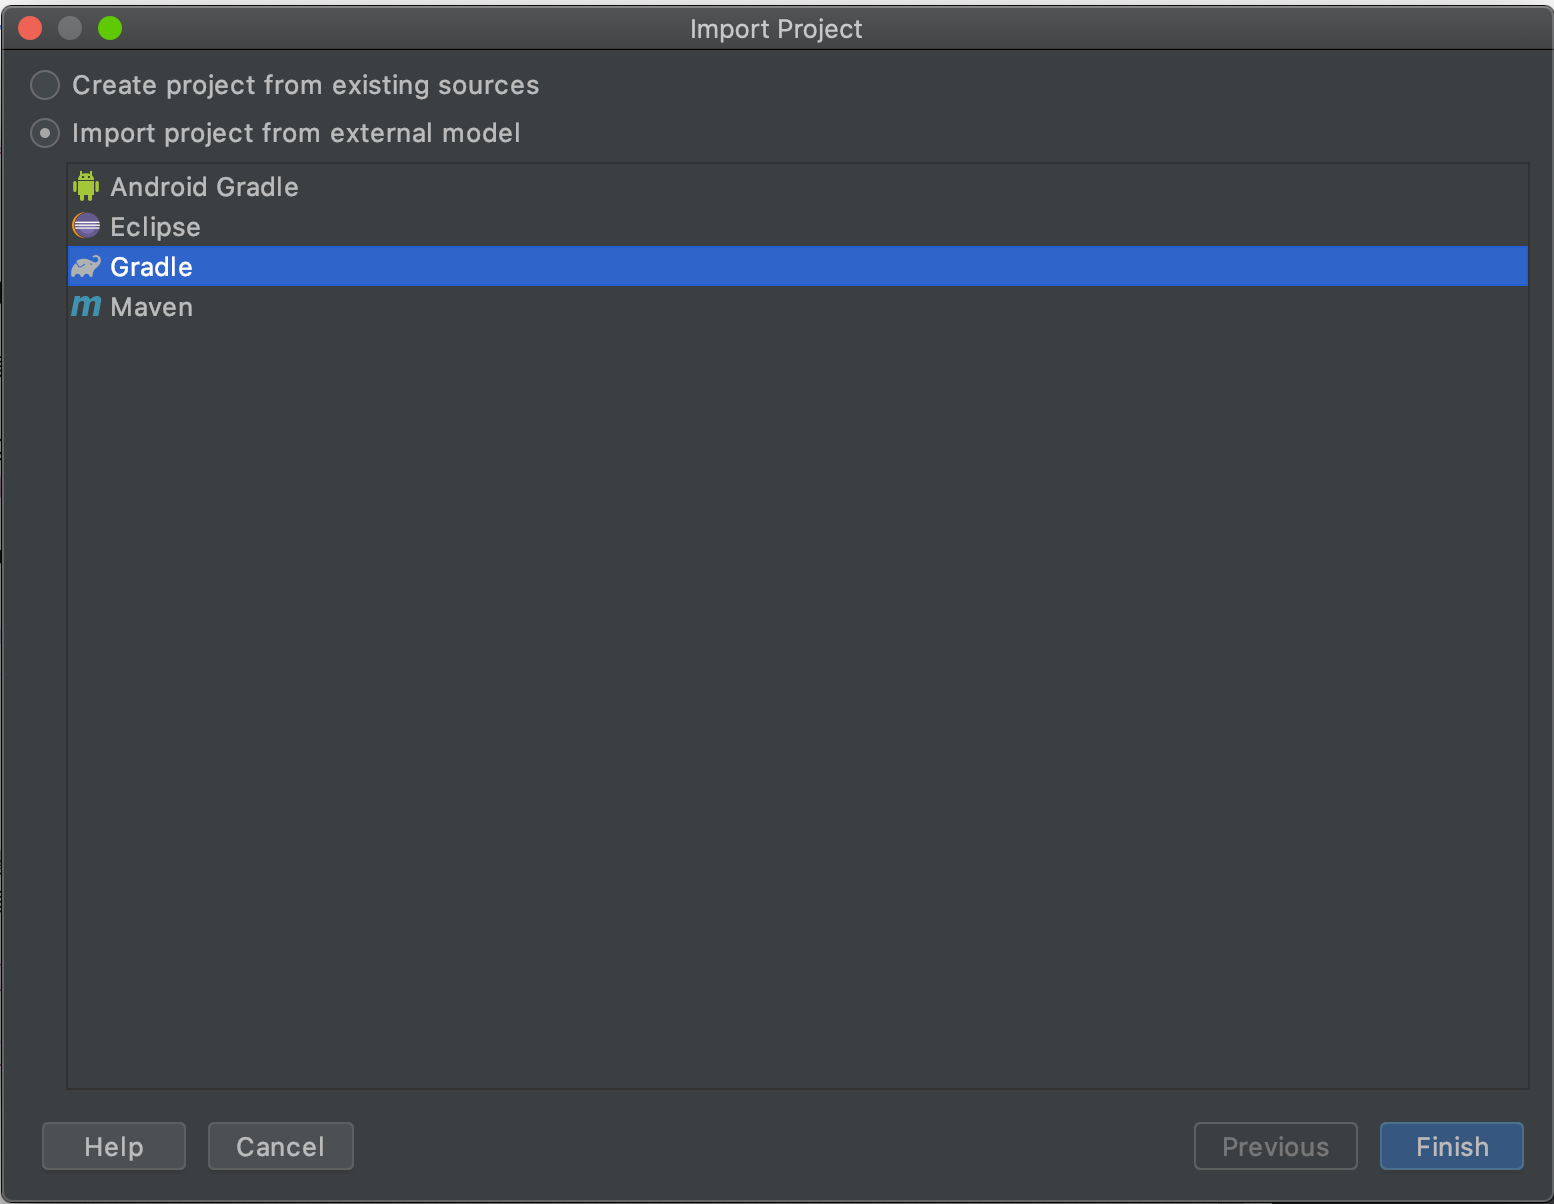
選擇 [Import project from external model],接著選 Gradle 開啟
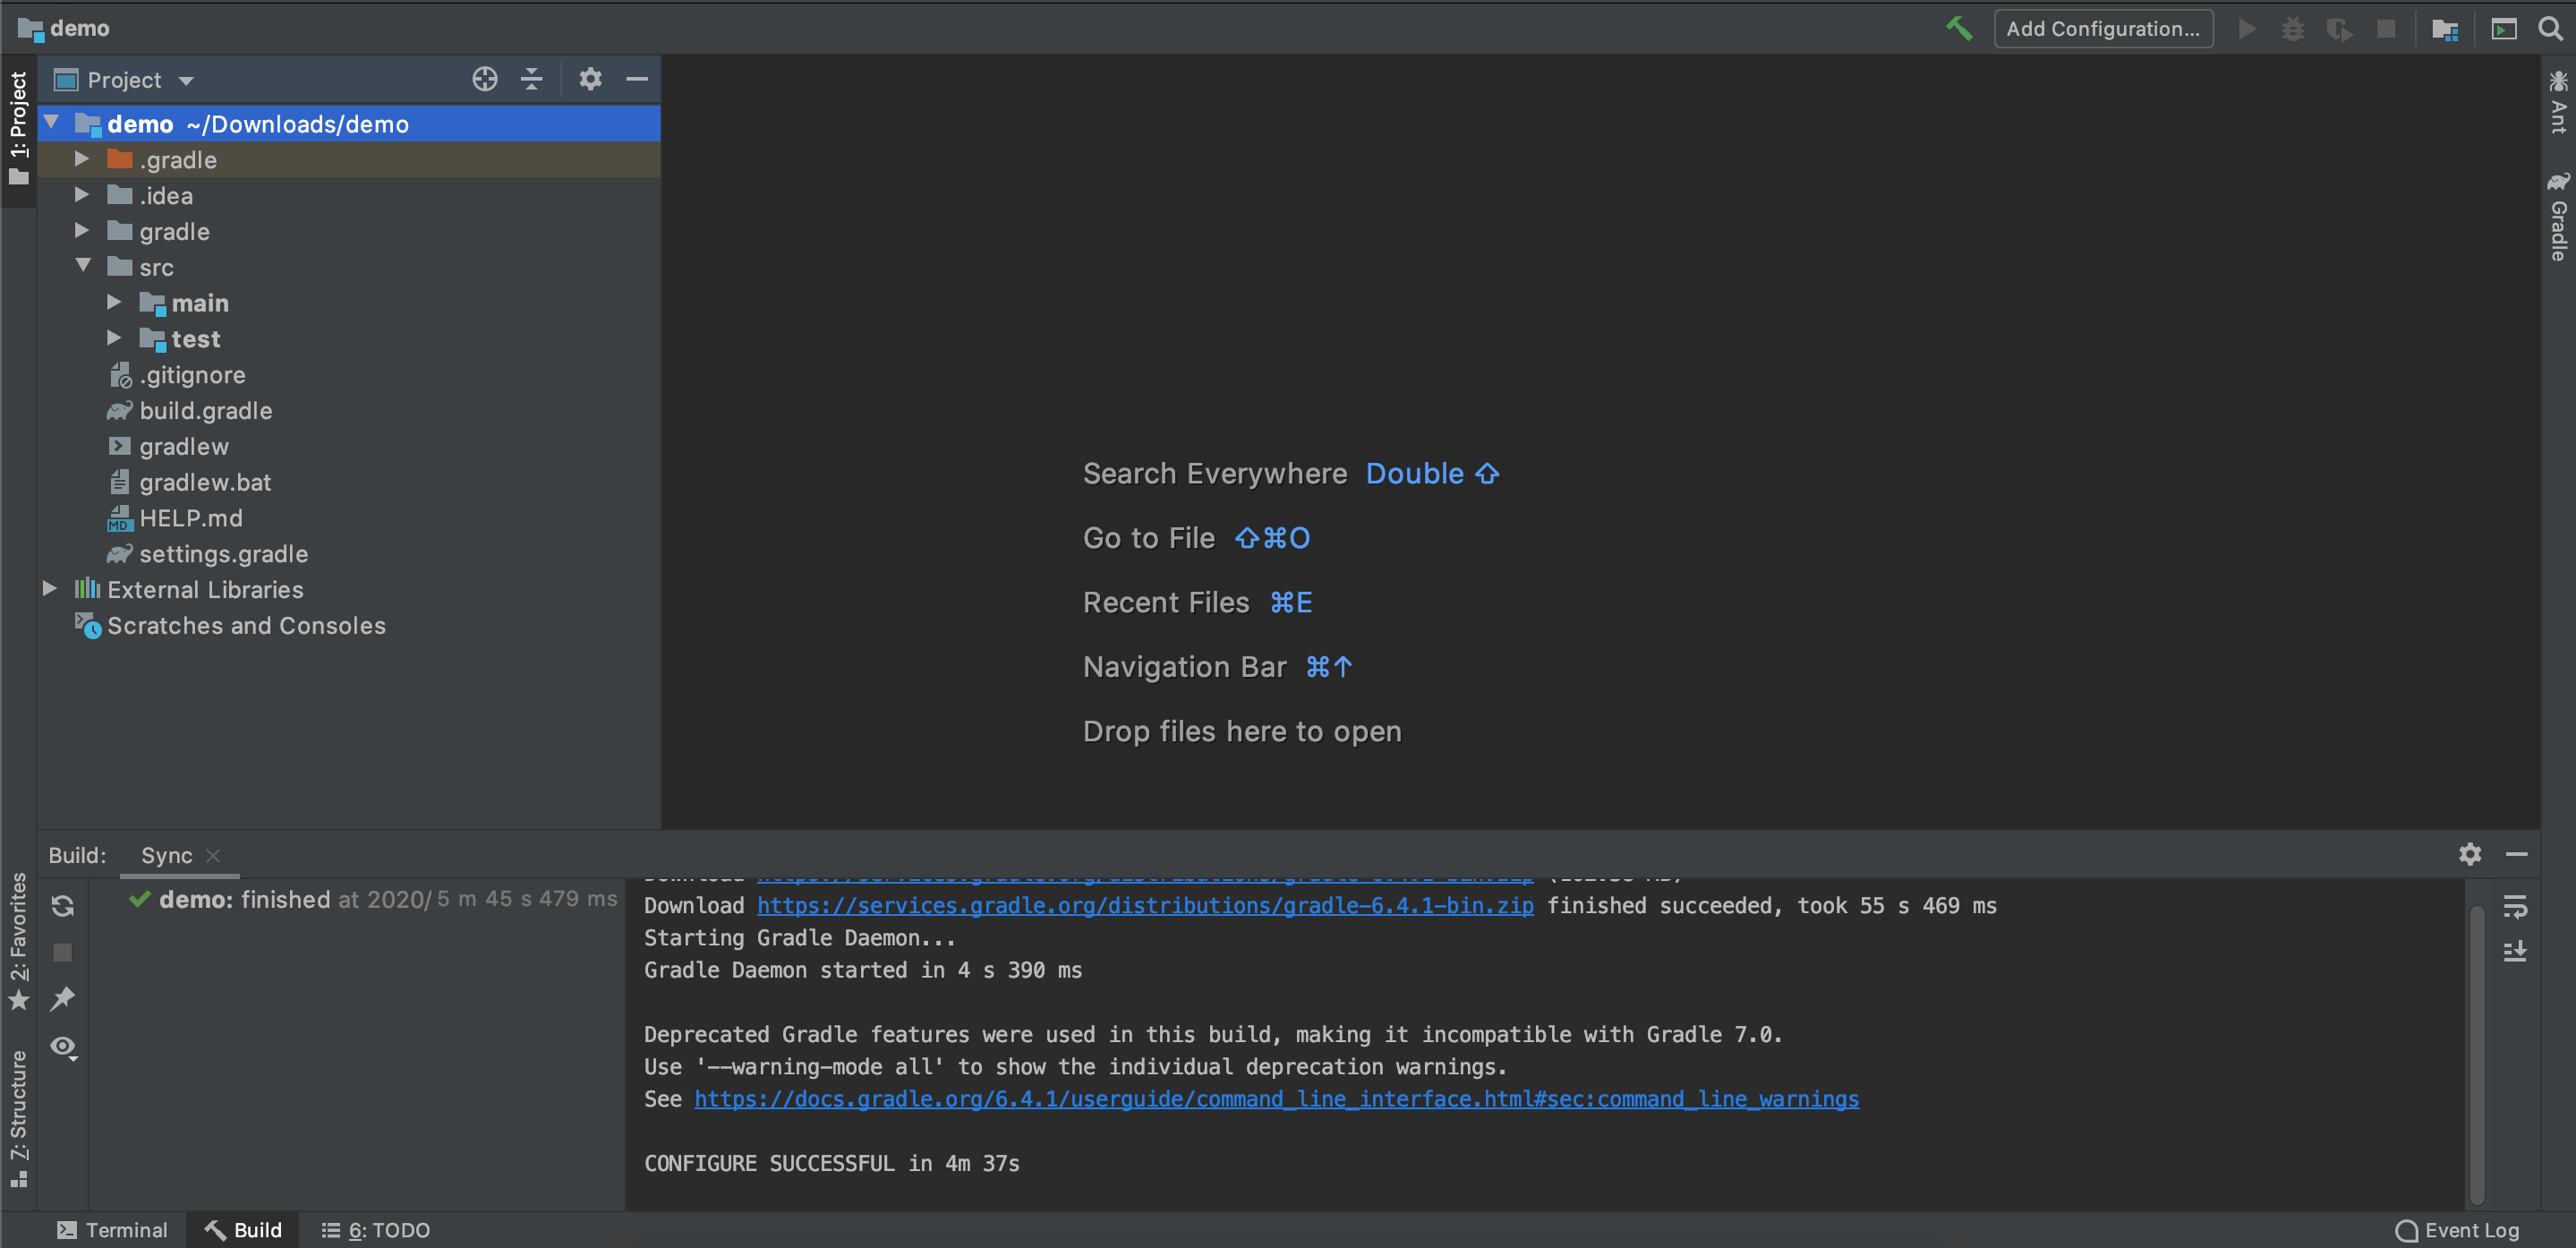
等待安裝專案相關環境
設定資料庫連線
在執行專案前需要先設定資料庫連線,開啟專案的的設定檔 src/main/resources/application.properties
加入以下的吃資料庫設定({host}、{database-name}、{database-username} 與 {database-password} 改成自己的資料庫的網域IP、名稱、帳號與密碼):
# DataSource 配置
spring.datasource.url=jdbc:mysql://{host}:3306/{database-name}?useUnicode=yes&characterEncoding=UTF-8
spring.datasource.username={database-username}
spring.datasource.password={database-password}
spring.datasource.driver-class-name=com.mysql.jdbc.Driver
建立 Controller
要建立一個 package 叫 controller,並且建立一個 class 叫 HelloController,程式碼如下:
import org.springframework.web.bind.annotation.*;
@RestController
public class HelloController {
@GetMapping("/")
public String index() {
return "Greetings from Spring Boot!";
}
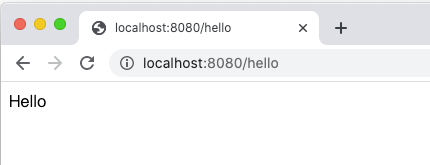
@GetMapping("/hello")
public String hello() {
return "Hello";
}
}
此 controller 是會在 / 與 /hello 的網址顯示訊息
執行專案
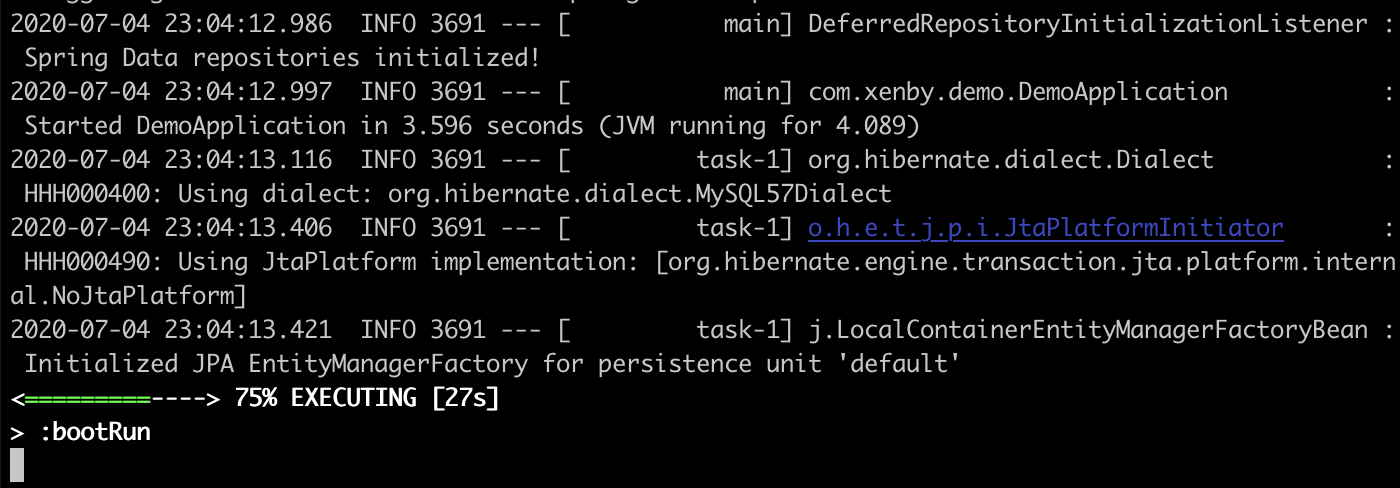
使用指令啟動
可以輸入以下指令啟動網站
./gradlew bootRun
開啟瀏覽器網址分別為 http://localhost:8080/ 以及 http://localhost:8080/hello


使用 IntelliJ IDEA 啟動
找到 Application 的 main
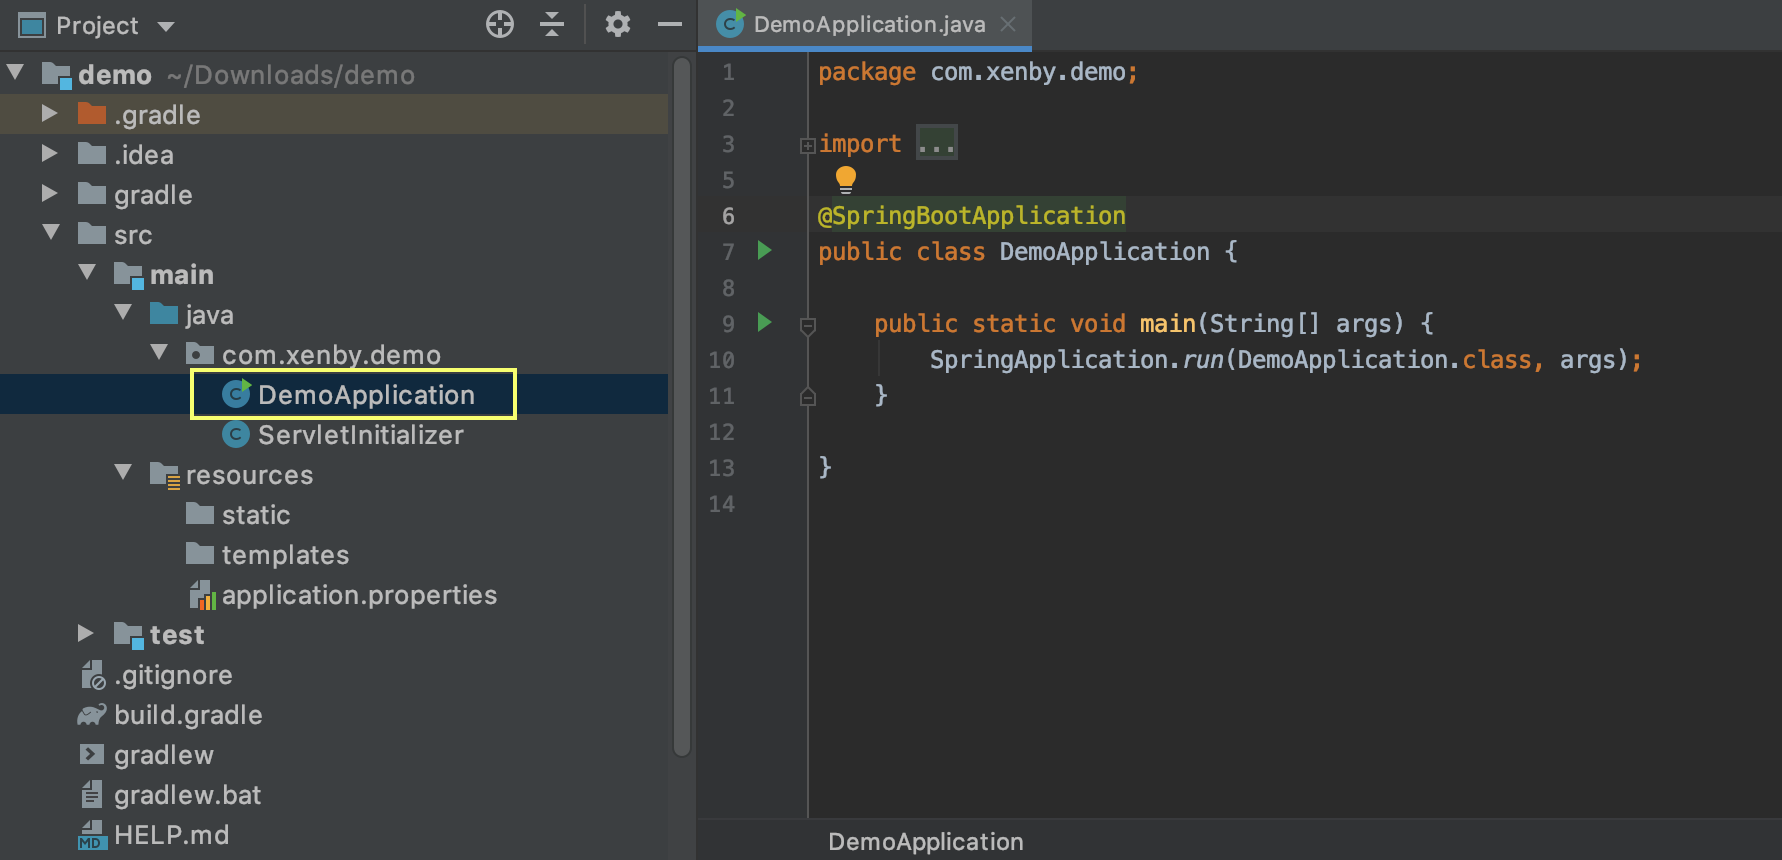
點 main 旁邊的執行按鈕可以執行

開啟瀏覽器網址分別為 http://localhost:8080/ 以及 http://localhost:8080/hello

使用 JPA 操作資料庫
接著示範如何使用 JPA,這邊使用一個 table 用來存學生基本資料來示範
建立資料庫 table 與資料
先用以下的 SQL schema 建立 table
CREATE TABLE `student` (
  `id` int(11) NOT NULL AUTO_INCREMENT,
  `name` varchar(30) NOT NULL,
  `age` tinyint(4) NOT NULL,
  `birthday` date NOT NULL,
  PRIMARY KEY (`id`)
) ENGINE=InnoDB DEFAULT CHARSET=utf8mb4;
並且建立 table 資料
INSERT INTO `student` (`id`, `name`, `age`, `birthday`) VALUES (1,'小明',20,'2020-01-01');
建立 table 對應的 repositorie 與 model
建立一個 package model 並且在裡面新增一個 class 叫做 Student,程式碼為:
import javax.persistence.*;
import java.util.Date;

@Entity
@Table(name="Student")
public class Student {
    @Id
    @GeneratedValue(strategy = GenerationType.IDENTITY)
    private Long id;

    @Column(name="name")
    private String name;

    @Column(name="age")
    private Integer age;

    @Column(name="birthday")
    private Date birthday;

    public Student() {
    }

    //... 省略 getter setter
}
接著建立一個 package repository,並且新增一個 interface StudentRepository
有了 Repository 就能使用一些常用的基本功能 findById、deleteById … 等之類的功能
而如果有另外需求可以自行定義,例如:自訂的一個函數功能 findByName 是使用名字查詢學生資料
import org.springframework.data.jpa.repository.JpaRepository;
import org.springframework.data.jpa.repository.Query;
import org.springframework.data.repository.query.Param;

import java.util.List;

public interface StudentRepository extends JpaRepository<Student, Long>{
    @Query("SELECT s FROM Student s WHERE s.name LIKE :name%")
    List<Student> findByName(@Param("name") String name);
}
使用 controller 做對應的 API
有了 model 與 repository 就可以方便的查詢資料了
要使用 repository,只需要在想使用的地方使用 @Autowired 將其掛到 class 內,就能夠直接使用,不需要實作實際的 class
※ 比較好的方法是再切一層 Service 來進行操作資料,而非在 Controller 直接使用 Repository,不過這邊為了方便 Demo 所以直接在 Controller 示範
這邊建立一個 StudentController 來當作範例
import org.springframework.beans.factory.annotation.Autowired;
import org.springframework.web.bind.annotation.*;
import java.util.List;
import java.util.Optional;
@RestController
public class StudentController {
@Autowired
StudentRepository studentRepository;
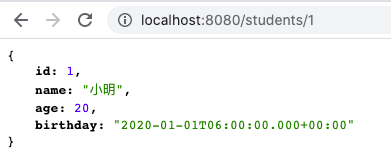
@GetMapping("/students/{id}")
public Optional<Student> student(@PathVariable("id") int studentId) {
Optional<Student> student = studentRepository.findById((long) studentId);
return student;
}
@GetMapping("/students")
public List<Student> student(@RequestParam("keyword") String keyword) {
List<Student> students = studentRepository.findByName(keyword);
return students;
}
}
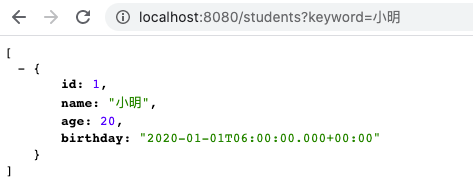
這樣就能在 http://localhost:8080/students/1 與 http://localhost:8080/students?keyword=小明 看 Repository 回應的結果
使用 Service
一些常用的商業邏輯往往都會抽出一個邏輯層,並且在其他要使用的地方使用 @Autowired 將其掛進去
可以新增一個 package service 並且加一個 service class HelloService,而要將其變為 service 非常簡單只需要在 class 寫上 @Service 便可
import org.springframework.stereotype.Service;

@Service
public class HelloService {
    HelloService() {
    }

    public String sayHello(String name) {
        return "hello, " + name;
    }
}
這樣就能在要使用的地方掛進來使用
@RestController
public class HelloController {
    @Autowired
    HelloService helloService;

    //... 省略
}
產生 WAR 檔
輸入以下指令可以產生 WAR 檔
./gradlew build
WAR 檔會產生在 ./build/libs/ 裡面
