現在網路上已經愈來愈多的雲端硬碟,例如Dropbox、Google Drive、One Drive…等,而假如想要使用私人伺服器來架設自己的雲端硬碟,這裡有一個選擇nextcloud,其功能非常多元,可在頁面上直接瀏覽圖片、文件以及在線觀看上傳的影片,而且能像Dropbox與Google Drive一樣支援資料夾同步功能,另外還能透過安裝App達到在線編輯Excel或是Word相關功能,是一個強大的開源雲端硬碟軟體,本篇教學如何自己架設安裝nextcloud雲端硬碟伺服器。
在線試用:https://demo.nextcloud.com/
程式碼:https://github.com/nextcloud
因為Nextcloud是PHP寫的,而資料庫為Mysql環境,所以要先安裝一下LEMP環境參考此篇:[教學] 安裝LEMP(Linux+Nginx+Mysql+PHP)環境
nextcloud 還需要一些PHP套件才能夠使用 輸入以下指令安裝:
sudo apt-get install php-xml php-zip php-mbstring php-curl php-gd
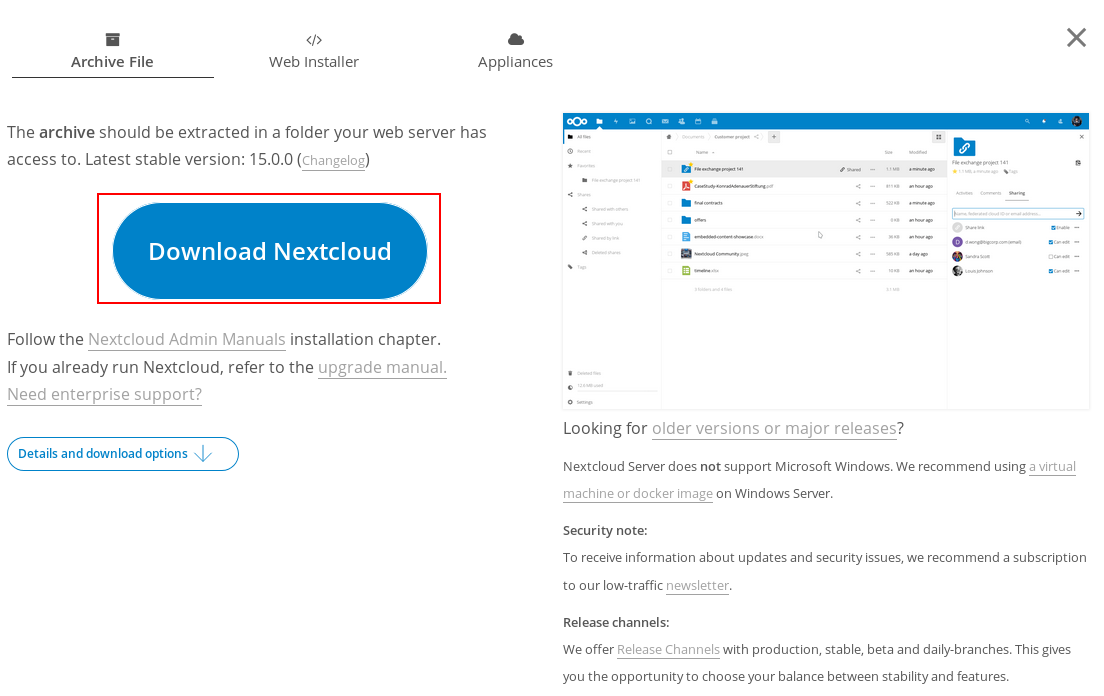
然後到官方網站下載安裝包 (https://nextcloud.com/install/)
點選 [Download for server] 之後點[Download Nextcloud]
將下載完的安裝包解壓縮並上傳至伺服器的PHP資料夾中 (如果是lemp環境預設是在/var/www/html中)
※這邊範例以放在 /var/www/html/nextcloud 當作範例
接著將nextcloud的資料夾擁有者轉給nginx:
sudo chown -R www-data nextcloud
然後Nginx需要設定rewrite轉至index.php 輸入指令修改設定:
sudo nano /etc/nginx/sites-available/default
將原本的設定加上紅色字的部份 (如果走https協定請把 fastcgi_param HTTPS on; 的註解去除)
server {
    listen 80 default_server;
    listen [::]:80 default_server;

    root /var/www/html;

    index index.php index.html index.htm index.nginx-debian.html;

    server_name _;

    location / {
        try_files $uri $uri/ =404;
    }

    location ~ \.php$ {
        include snippets/fastcgi-php.conf;
        fastcgi_pass unix:/run/php/php7.2-fpm.sock;
    }

    location ~ /\.ht {
        deny all;
    }

    location ^~ /nextcloud {
        # set max upload size
        client_max_body_size 512M;
        fastcgi_buffers 64 4K;

        # Enable gzip but do not remove ETag headers
        gzip on;
        gzip_vary on;
        gzip_comp_level 4;
        gzip_min_length 256;
        gzip_proxied expired no-cache no-store private no_last_modified no_etag auth;
        gzip_types application/atom+xml application/javascript application/json application/ld+json application/manifest+json application/rss+xml application/vnd.geo+json application/vnd.ms-fontobject application/x-font-ttf application/x-web-app-manifest+json application/xhtml+xml application/xml font/opentype image/bmp image/svg+xml image/x-icon text/cache-manifest text/css text/plain text/vcard text/vnd.rim.location.xloc text/vtt text/x-component text/x-cross-domain-policy;

        # Uncomment if your server is build with the ngx_pagespeed module
        # This module is currently not supported.
        #pagespeed off;

        location /nextcloud {
            rewrite ^ /nextcloud/index.php$request_uri;
        }

        location ~ ^/nextcloud/(?:build|tests|config|lib|3rdparty|templates|data)/ {
            deny all;
        }

        location ~ ^/nextcloud/(?:\.|autotest|occ|issue|indie|db_|console) {
            deny all;
        }

        location ~ ^/nextcloud/(?:index|remote|public|cron|core/ajax/update|status|ocs/v[12]|updater/.+|ocs-provider/.+)\.php(?:$|/) {
            fastcgi_split_path_info ^(.+?\.php)(/.*)$;
            include fastcgi_params;
            fastcgi_param SCRIPT_FILENAME $document_root$fastcgi_script_name;
            fastcgi_param PATH_INFO $fastcgi_path_info;
            # fastcgi_param HTTPS on;
            # Avoid sending the security headers twice
            fastcgi_param modHeadersAvailable true;
            fastcgi_param front_controller_active true;
            fastcgi_pass unix:/run/php/php7.2-fpm.sock;
            fastcgi_intercept_errors on;
            fastcgi_request_buffering off;
        }

        location ~ ^/nextcloud/(?:updater|ocs-provider)(?:$|/) {
            try_files $uri/ =404;
            index index.php;
        }

        # Adding the cache control header for js and css files
        # Make sure it is BELOW the PHP block
        location ~ \.(?:css|js|woff|svg|gif)$ {
            try_files $uri /nextcloud/index.php$request_uri;
            add_header Cache-Control "public, max-age=15778463";
            # Add headers to serve security related headers  (It is intended
            # to have those duplicated to the ones above)
            # Before enabling Strict-Transport-Security headers please read
            # into this topic first.
            # add_header Strict-Transport-Security "max-age=15768000;
            # includeSubDomains; preload;";
            add_header X-Content-Type-Options nosniff;
            add_header X-XSS-Protection "1; mode=block";
            add_header X-Robots-Tag none;
            add_header X-Download-Options noopen;
            add_header X-Permitted-Cross-Domain-Policies none;
            # Optional: Don't log access to assets
            access_log off;
        }

        location ~ \.(?:png|html|ttf|ico|jpg|jpeg)$ {
            try_files $uri /nextcloud/index.php$request_uri;
            # Optional: Don't log access to other assets
            access_log off;
        }
    }
}
修改完成後輸入以下指令讓nginx重新讀取設定檔
sudo systemctl reload nginx
此時開啟網頁http://your_host/nextcloud
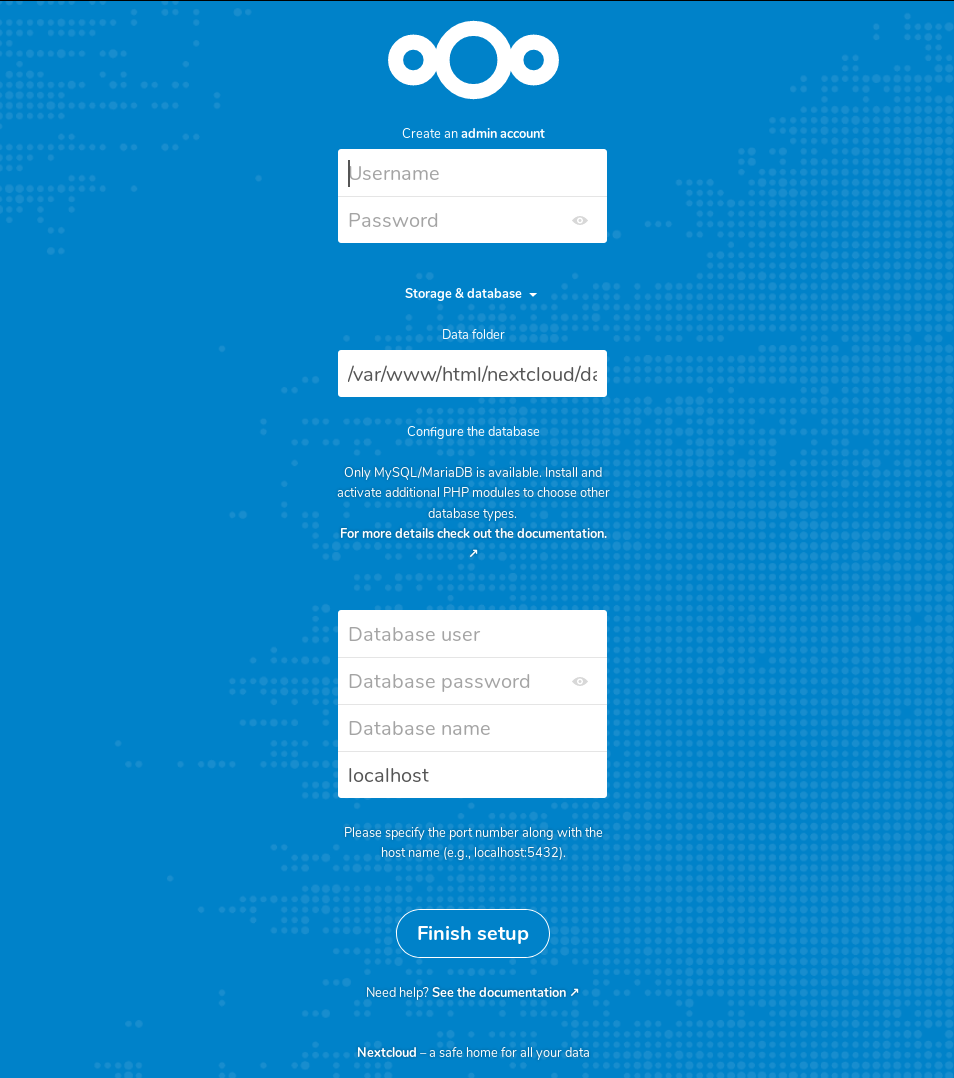
然後設定自己想要的管理員帳號密碼、雲端硬碟資料儲存位置、以及資料庫帳號密碼,輸入完成後按 [Finish setup]
(這需要等待一小段時間)
接著就能夠進入雲端硬碟頁面中了
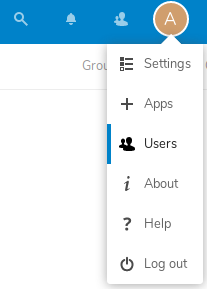
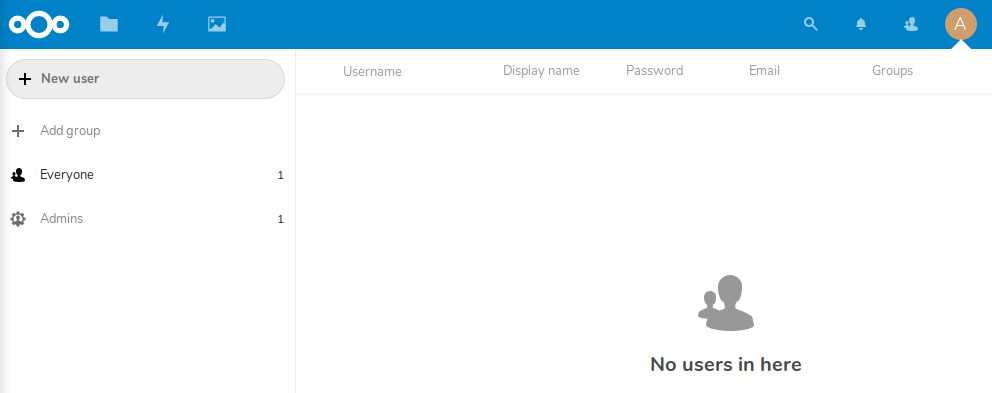
登入後點選右上的Users 可以新增使用者
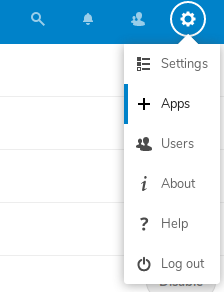
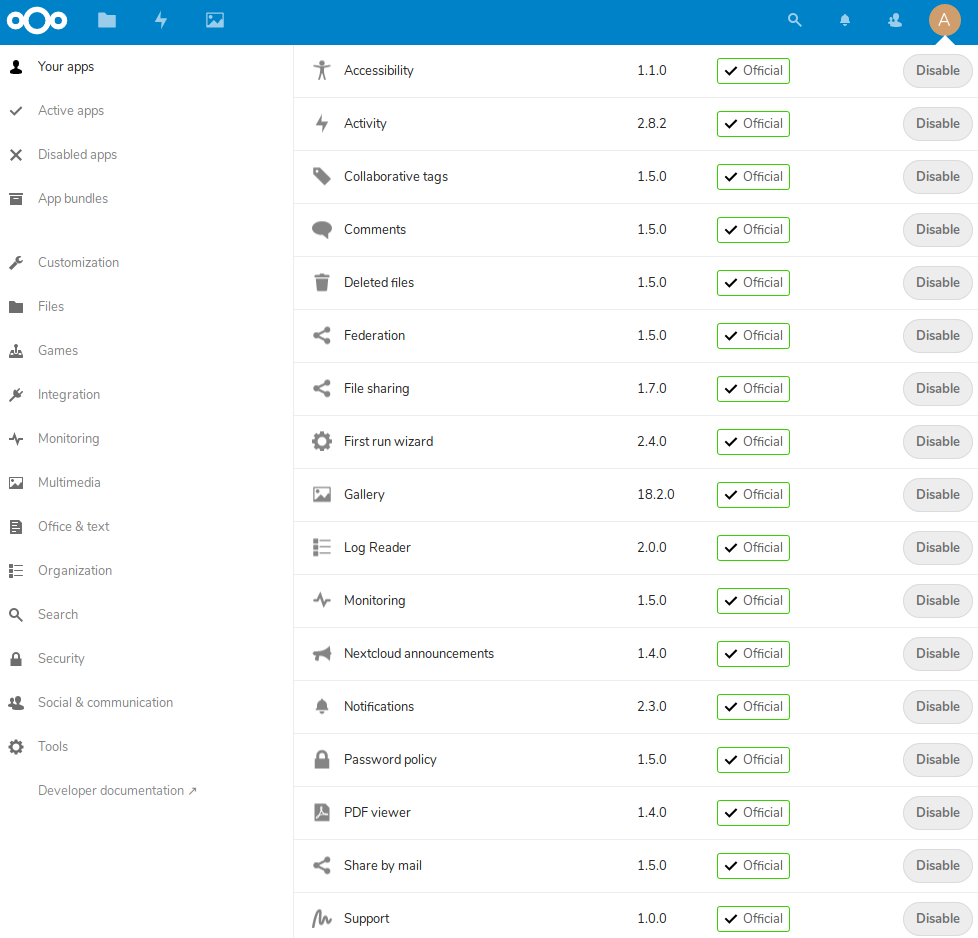
而點選右上 Apps 可以設定哪些App功能要開啟哪些功能不要開啟 且能點左邊的選單安裝自己想要的新App
例如在線編輯Excel與Word的App可以點選[Office & Text] > [Collabora Online] 來進行安裝


