


之前有介紹一個全文檢索程式 Meilisearch,不過目前還無法適用於中大型應用系統以及功能較少,而Elasticsearch 是目前最多人使用的全文檢索引擎,不只用於文字檢索還會用於地圖坐標運算及其他應用,並且能夠自己做多樣化的設定,而 Elasticsearch 本身並不支援中文,所以需要自行安裝分詞器,而現在多人在維護的分詞都是簡體中文的,本篇文章將教學如何安裝 Elasticsearch 並且支援繁體中文分詞
原始碼:https://github.com/elastic/elasticsearch
安裝 Elasticsearch
首先第一個步驟是安裝 Elasticsearch,這邊需要注意 Elasticsearch 要下載的版本
因為對應版本的外掛只能適用於對應版本的 Elasticsearch,為了方便 (省去自己手動編譯) 可以選擇有已經編譯好外掛的版本來安裝
舉例現在的 Elasticsearch 最新的是 8.3.3,但是目前 IK Analyzer 只有 8.2.3 那可以選擇下載 8.2.3 的 Elasticsearch
Elasticsearch 下載點連結:https://www.elastic.co/downloads/past-releases#elasticsearch
選擇下載對應作業系統的版本


下載後解壓縮後直接執行 binarry 就能啟動
./bin/elasticsearch
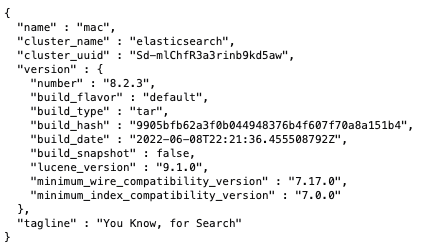
第一次啟動的時候會取得:
- 帳號密碼:用來登入的
- kibana 的 enrollment token:後面步驟用來給 kibana 連結認證用的

伺服器會啟動在:https://0.0.0.0:9200
安裝 kibana
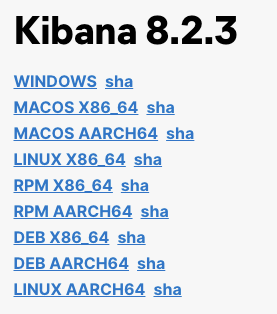
kibana 下載連結:https://www.elastic.co/downloads/past-releases#kibana
選擇系統對應的版本與下載

下載後解壓縮直接執行 binarry 就能啟動
預設網頁會啟動在 http://localhost:5601
並且在第一次啟動會取得一個連結用來設定 elasticseach
將剛剛取得的 enrollment token 貼進去

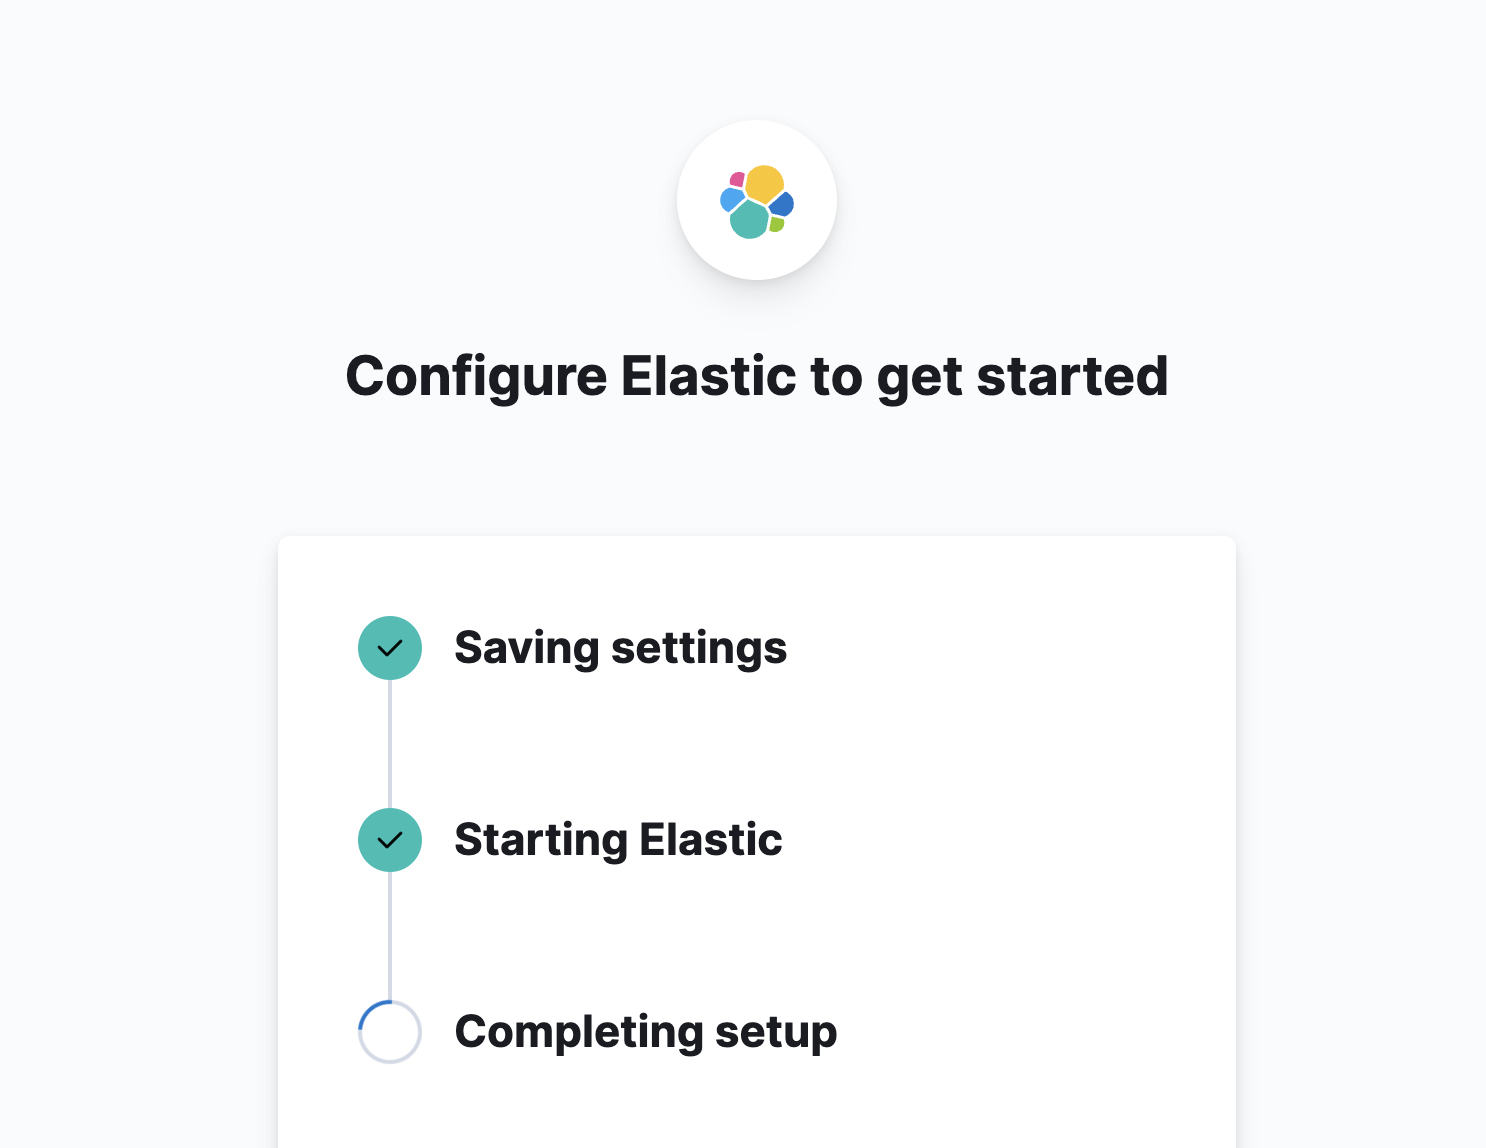
稍微等一下就能進入登入畫面

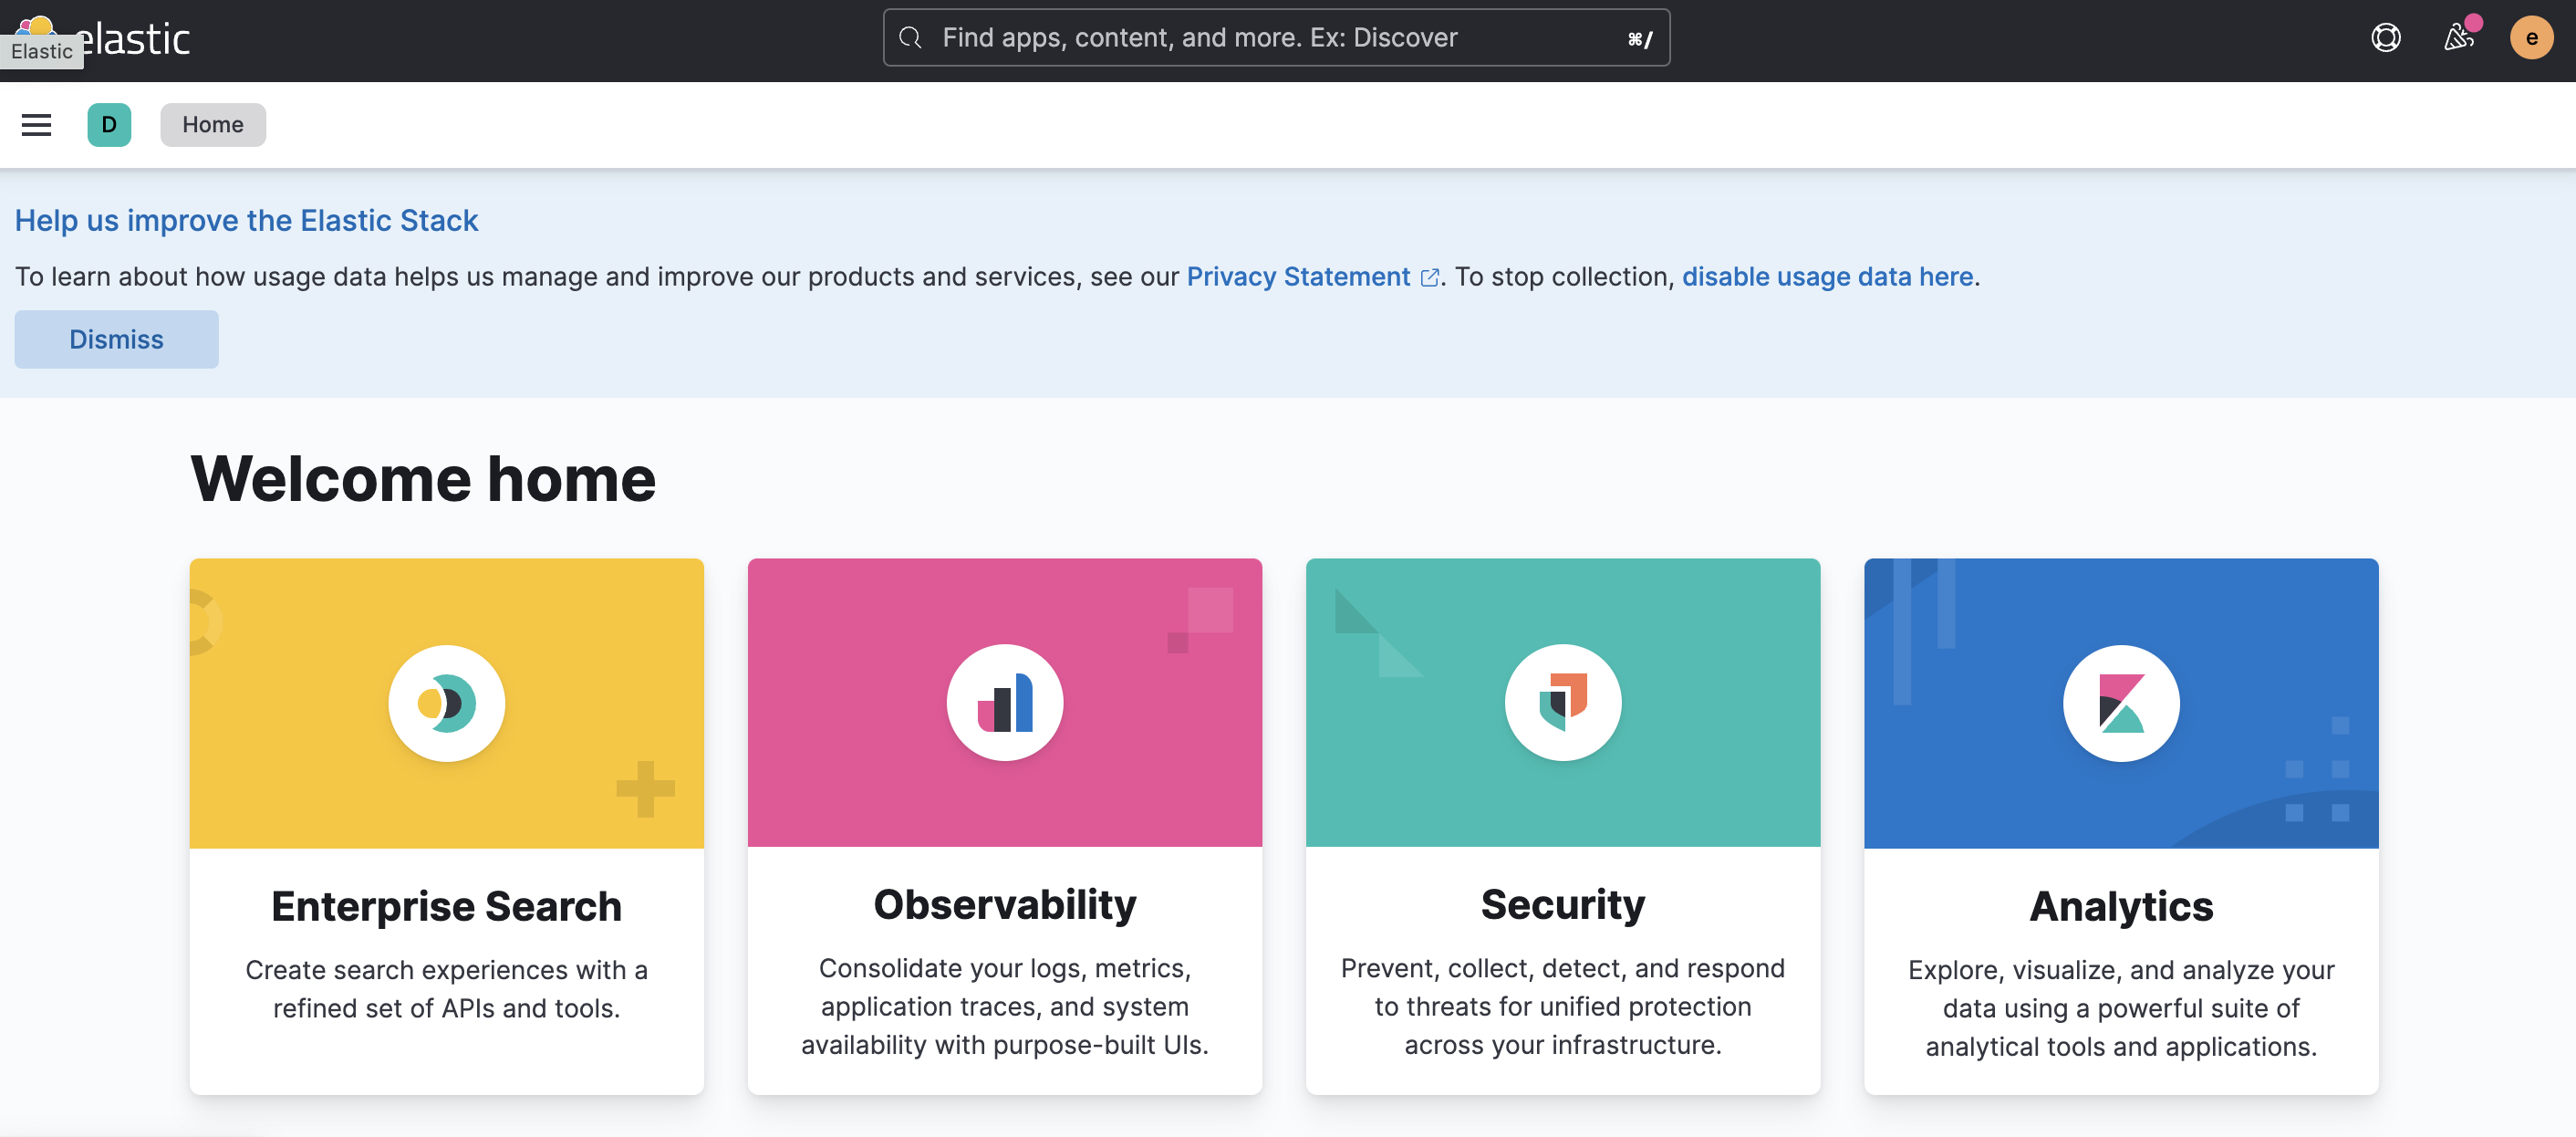
輸入剛剛取得的帳號密碼就可以開始使用 kibana
安裝 IK 分析器
目前我們能找到有在維護的 Analyzer 分別都是簡體中文的,我們使用此簡體中文版本加一些設定來做到支援繁體中文
IK Analyzer 下載點:https://github.com/medcl/elasticsearch-analysis-ik/releases

下載後將解壓縮得到的資料夾放到 elasticsearch 中的 plugins 之中
重啟伺服器便完成安裝
可以進行測試一下,是否有支援簡體中文的文字
GET _analyze
{
  "analyzer": "ik_smart",
  "text": "传说中的厨具"
}
{
  "tokens" : [
    {
      "token" : "传说中",
      "start_offset" : 0,
      "end_offset" : 3,
      "type" : "CN_WORD",
      "position" : 0
    },
    {
      "token" : "的",
      "start_offset" : 3,
      "end_offset" : 4,
      "type" : "CN_CHAR",
      "position" : 1
    },
    {
      "token" : "厨具",
      "start_offset" : 4,
      "end_offset" : 6,
      "type" : "CN_WORD",
      "position" : 2
    }
  ]
}
設定支援繁體中文
支援繁體中文有兩個方式
方法一、直接修改 KL Analyzer 分詞內容,用工具轉成繁體中文並且加進分詞檔案
方法二、使用轉簡轉換 STConvert Analysis,先將輸入的繁體轉成簡體,再接 KL Analyzer 來分詞
方法一、直接修改 KL Analyzer 分詞內容
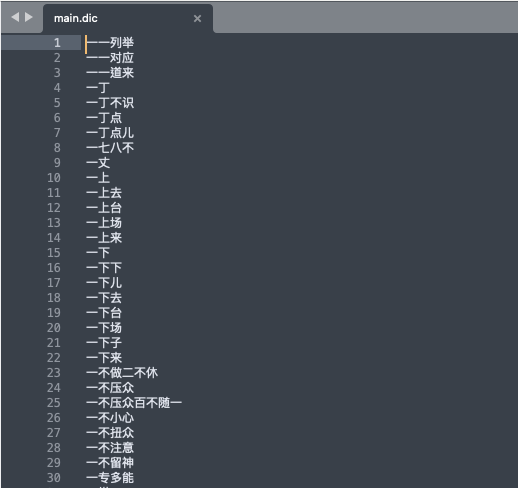
目前會分開的詞語是放在外掛資料夾中的 config/*.dic
使用文字編輯器開啟可以看到裡面有很多的詞語,使用工具將其轉換成繁體就可以了
這邊可以使用 opencc 轉換工具,下載點與安裝教學:https://github.com/BYVoid/OpenCC/wiki/Download
這樣使用指令將所有 dic 檔案內容補上繁體中文就可以:
opencc -c s2tw.json -i main.dic -o /tmp/main-zhtw.dic
cp main.dic /tmp/main-zhcn.dic
cat /tmp/main-zhtw.dic /tmp/main-zhcn.dic | sort | uniq > main.dic
重啟伺服器測試看看
GET _analyze
{
  "analyzer": "ik_smart",
  "text": "兼容異體字,可以實現動態替換"
}
{
  "tokens" : [
    {
      "token" : "兼容",
      "start_offset" : 0,
      "end_offset" : 2,
      "type" : "CN_WORD",
      "position" : 0
    },
    {
      "token" : "異體字",
      "start_offset" : 2,
      "end_offset" : 5,
      "type" : "CN_WORD",
      "position" : 1
    },
    {
      "token" : "可以",
      "start_offset" : 6,
      "end_offset" : 8,
      "type" : "CN_WORD",
      "position" : 2
    },
    {
      "token" : "實現",
      "start_offset" : 8,
      "end_offset" : 10,
      "type" : "CN_WORD",
      "position" : 3
    },
    {
      "token" : "動態",
      "start_offset" : 10,
      "end_offset" : 12,
      "type" : "CN_WORD",
      "position" : 4
    },
    {
      "token" : "替換",
      "start_offset" : 12,
      "end_offset" : 14,
      "type" : "CN_WORD",
      "position" : 5
    }
  ]
}
方法二、使用轉簡轉換 STConvert Analysis
STConvert Analysis 下載點:https://github.com/medcl/elasticsearch-analysis-stconvert

下載後將解壓縮得到的資料夾放到 elasticsearch 中的 plugins 之中
重啟伺服器便完成安裝
接著要對指定的 index 進行設定「自定義分析器」
簡單來說分析器 (analysis) 是由 char_filter、tokenizer、filter 三個步驟來完成的,這邊設定是做到的步驟是:
step 1. 將文字轉成簡體
step 2. 使用 ik 分詞器將簡體中文語句進行分詞
step 3. 將分完的詞轉為繁體
PS: 詳細運作說明可以參考:https://www.elastic.co/guide/cn/elasticsearch/guide/current/custom-analyzers.html
PUT /product/_settings
{
  "analysis": {
    "char_filter": {
      "stconvert": {
        "type": "stconvert",
        "delimiter": "#",
        "keep_both": false,
        "convert_type": "t2s"
      }
    },
    "tokenizer": {
      "ik_smart": {
        "type": "ik_smart"
      }
    },
    "filter": {
      "stconvert": {
        "type": "stconvert",
        "delimiter": "#",
        "keep_both": false,
        "convert_type": "s2t"
      }
    },
    "analyzer": {
      "my_chinese_analyzer": {
        "type": "custom",
        "char_filter": ["stconvert"],
        "tokenizer": "ik_smart",
        "filter": ["stconvert"]
      }
    }
  }
}
此時可以測試看看 ik 與 stconvert 一起運作的結果, 會取得簡體中文的分詞結果
GET product/_analyze
{
  "analyzer" : "my_chinese_analyzer",
  "text" : "傳說中的廚具"
}
{
  "tokens" : [
    {
      "token" : "傳説中",
      "start_offset" : 0,
      "end_offset" : 3,
      "type" : "CN_WORD",
      "position" : 0
    },
    {
      "token" : "的",
      "start_offset" : 3,
      "end_offset" : 4,
      "type" : "CN_CHAR",
      "position" : 1
    },
    {
      "token" : "廚具",
      "start_offset" : 4,
      "end_offset" : 6,
      "type" : "CN_WORD",
      "position" : 2
    }
  ]
}
接著就可以在指定的欄位使用要的分詞器
PUT /product/_mapping
{
  "properties": {
    "title": {
      "type": "text",
      "analyzer": "my_chinese_analyzer"
    }
  }
}
或是直接設定整個 index 全欄位使用相同分詞器
(將上面的自訂分詞器的 my_chinese_analyzer 直接改成 default)
POST /product/_close

PUT /product/_settings
{
  "analysis": {
    "char_filter": {
      "stconvert": {
        "type": "stconvert",
        "delimiter": "#",
        "keep_both": false,
        "convert_type": "t2s"
      }
    },
    "tokenizer": {
      "ik_smart": {
        "type": "ik_smart"
      }
    },
    "filter": {
      "stconvert": {
        "type": "stconvert",
        "delimiter": "#",
        "keep_both": false,
        "convert_type": "s2t"
      }
    },
    "analyzer": {
      "default": {
        "type": "custom",
        "char_filter": [
          "stconvert"
        ],
        "tokenizer": "ik_smart",
        "filter": [
          "stconvert"
        ]
      }
    }
  }
}

POST /product/_open